Downloading the Plugin
Access the Peqi website: https://get.peqi.app/#down-form and click on the option to download the plugin:
Installing the Plugin
Login to your WordPress admin panel, go to the Plugin section and find 'Add New Plugin' below it. Inside the Add New Plugin page, find the 'Upload' button and click on it.
Drop the .zip you just downloaded from this page into the box and wait for it to install. Once you're done, you'll find the Peqi app link in the sidebar.
Logging in or registering with Peqi
Open the plugin and click "Start Setup".
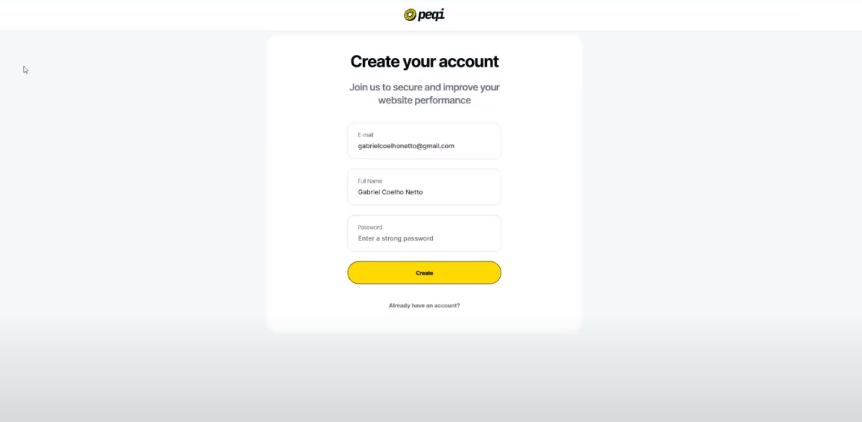
Create your account by entering your email, full name and password. Then just click on the 'Create' button:
If you are already a Peqi customer, click on the 'Already have an account?' and enter the access data.
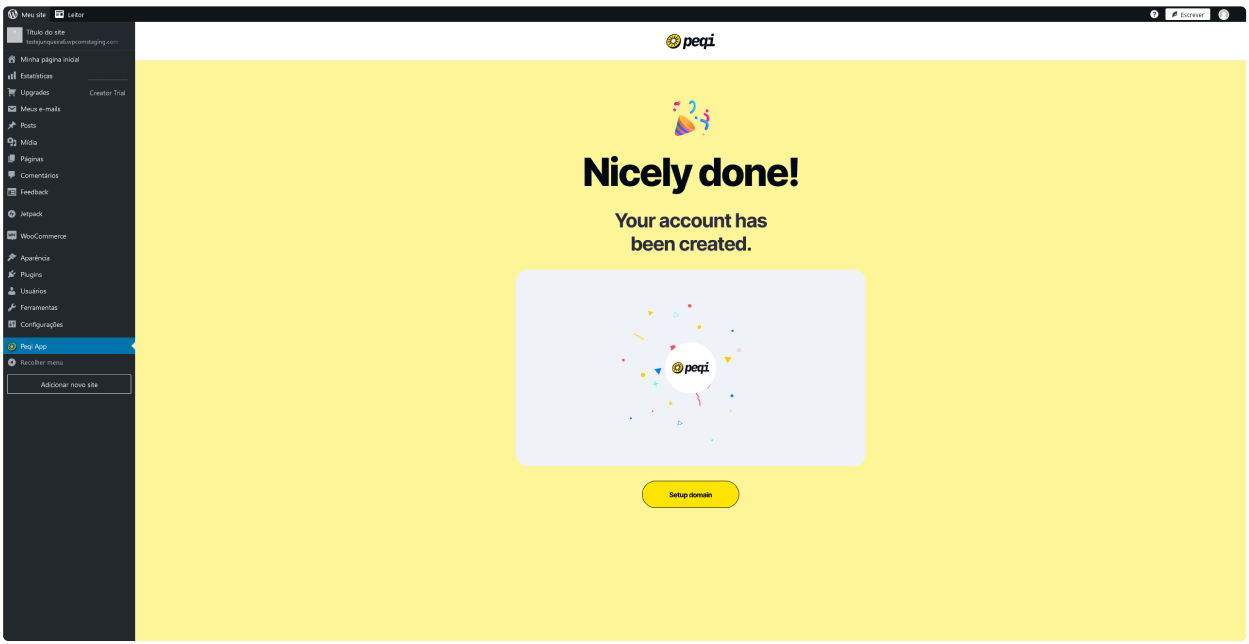
Great, now your account is created and you can start by watching our video and after clicking on the 'Setup domain' button:
Adding a new website
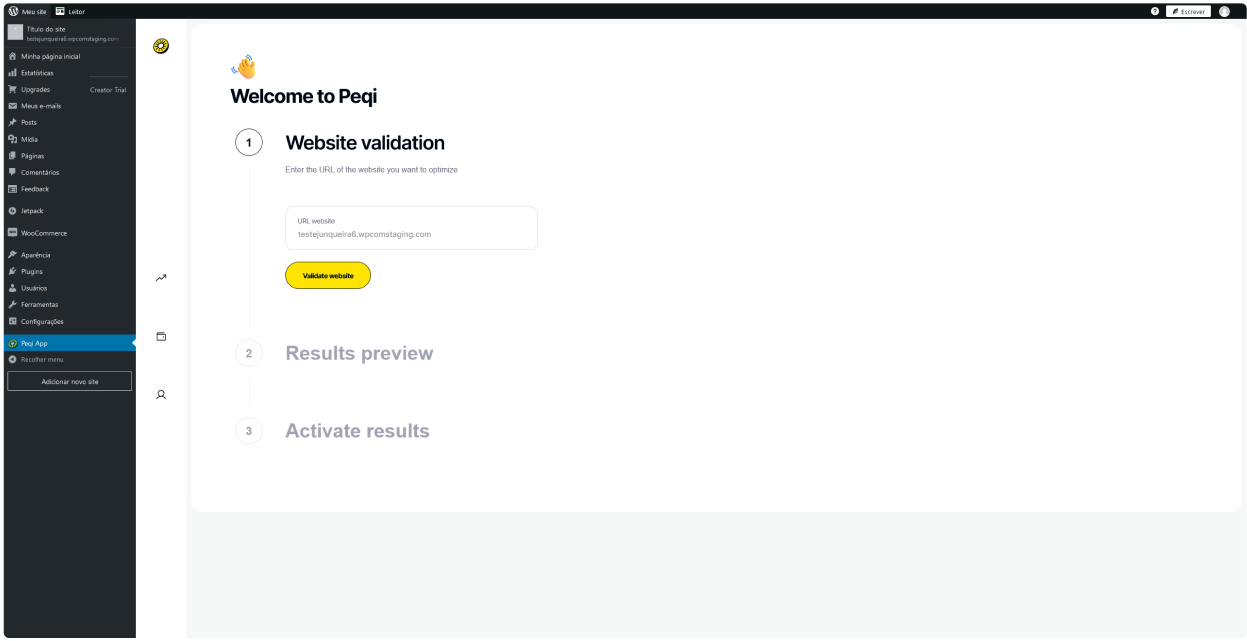
Enter the domain of the website you want to add to Peqi, for example (peqi.app). And then click on 'Validate website' for your website to be validated.
Optimizations
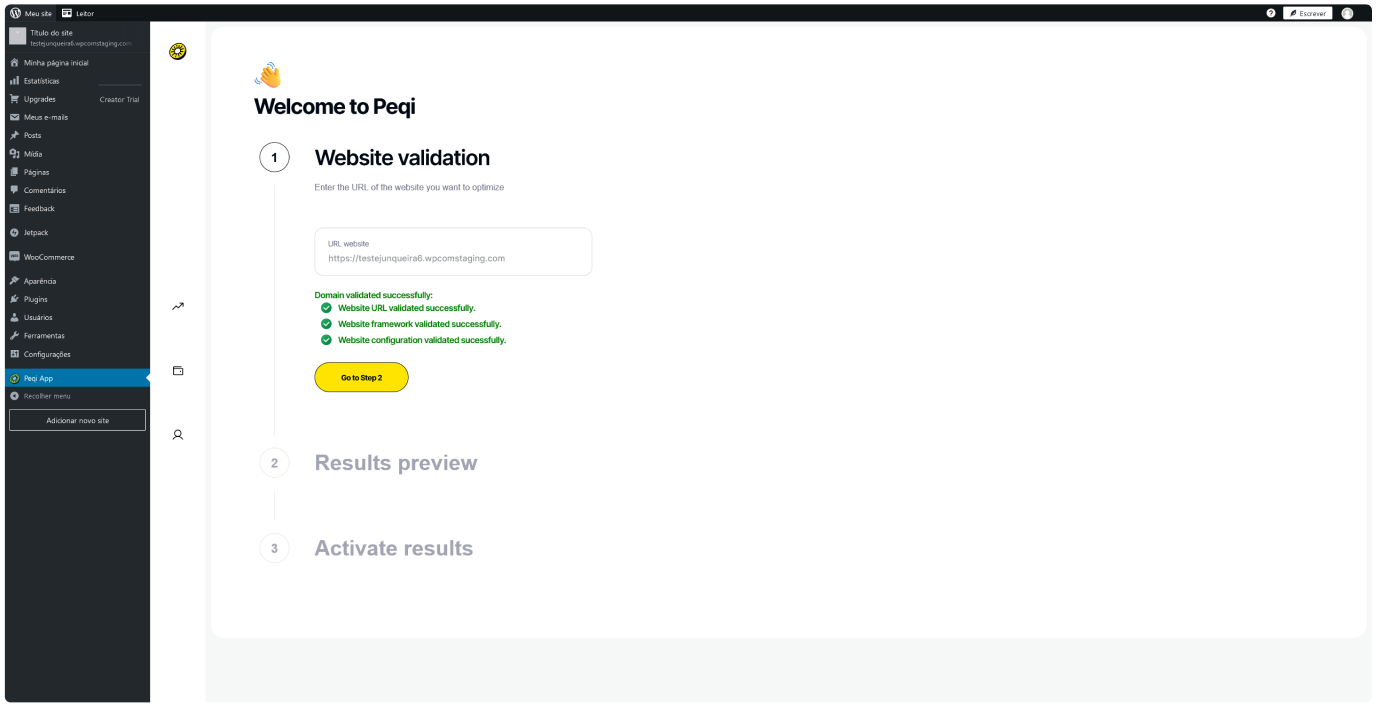
Then click on the 'Go to Setp 2' button for Peqi to perform the necessary optimizations:
Comparative Result
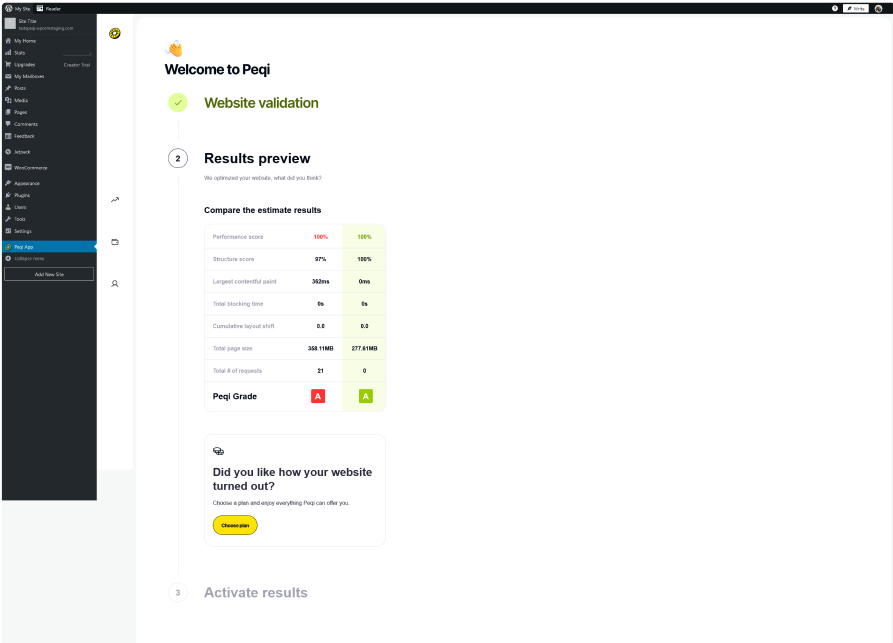
After the optimizations have been performed, you will be presented with a preview of the result, so you can compare the performance between your current website and the version optimized by Peqi.
Plan subscription
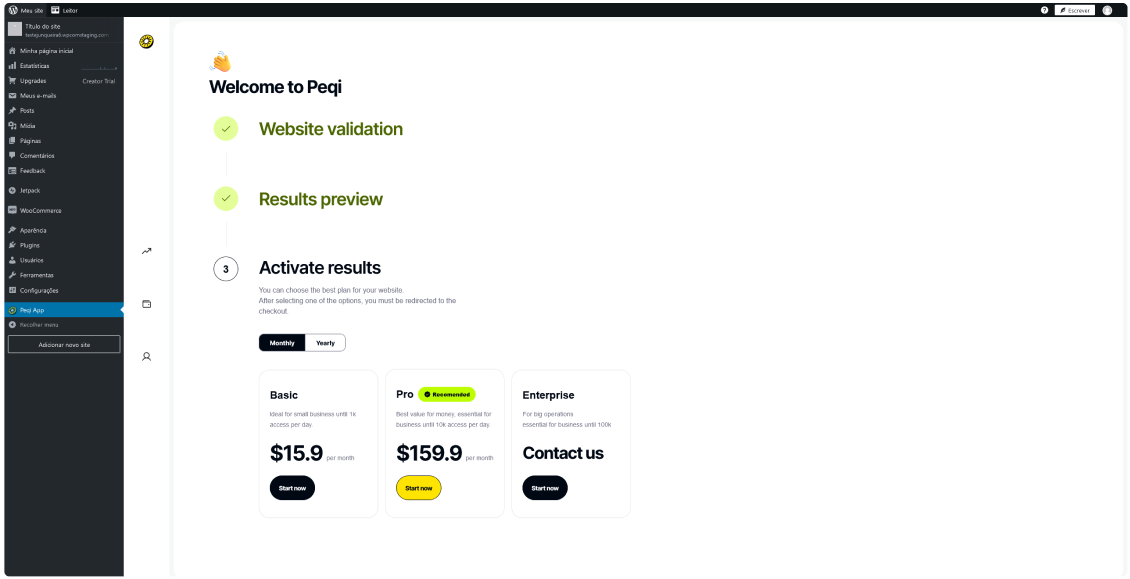
The next step will be to select the plan subscription that best suits your needs. Clicking on 'Choose plan' will display the plans for you to choose from.
Then just click on the 'Start now' button below the desired plan to enter your payment details:
DNS appointment
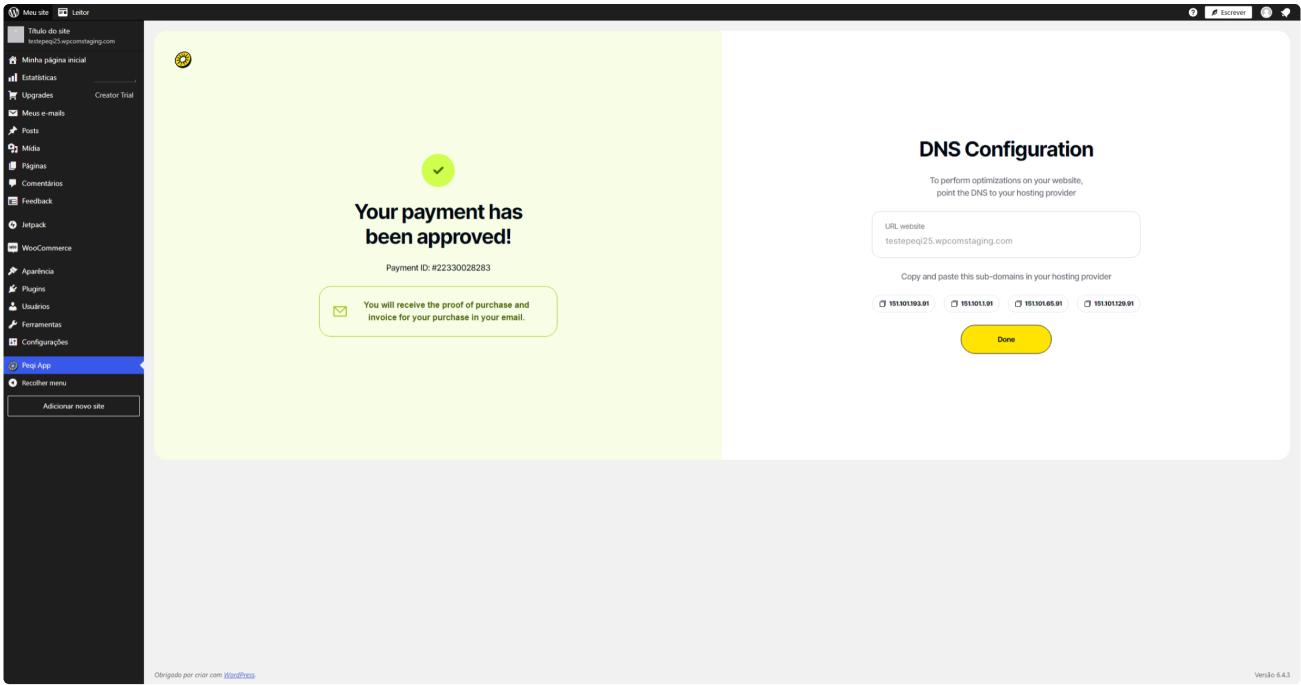
With the payment approved, you must make the DNS notes by copying the sub-domains that appear on the screen and pasting them into your hosting provider.
Success!
Ready! From now on, you can enjoy all the performance provided by Peqi!


